
Loading sequence 0%
Overview
One controller, every angle.
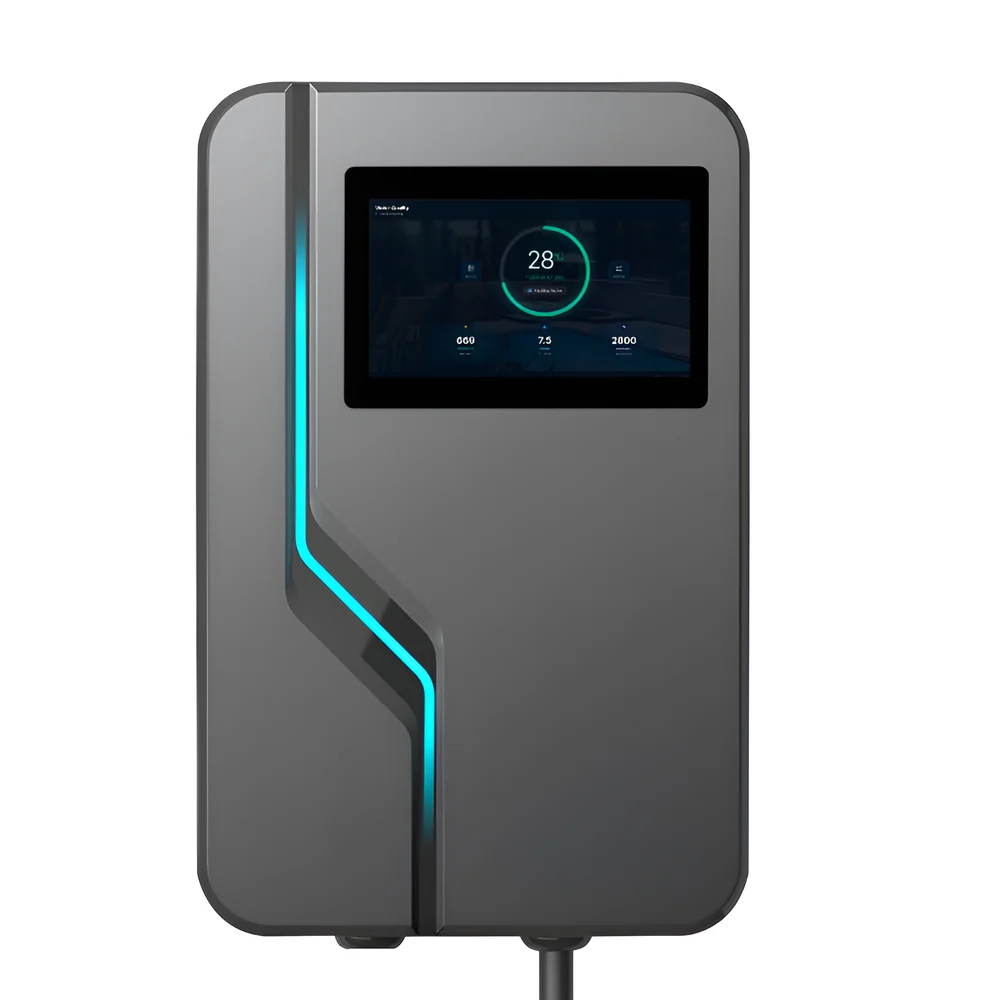
A 7-inch touch display and a custom mainboard in a sealed enclosure built for outdoor mounting. Scroll to turn the unit through a full rotation.
- Display
- 7 in
- Mainboard
- Custom
- Housing
- Sealed
Scroll to rotate
Hardware
Purpose-built inside.Off-the-shelf outside.
The enclosure is a proven outdoor housing, so the engineering effort went where it counts: the board, the I/O and the interface. TODO — describe your mainboard, processor and the reasoning behind it.
I/O
Wired for the whole system.
TODO — list what it connects to: relay outputs, sensor inputs, comms buses, expansion. The rear view is on screen at this point in the scroll, so this is the natural place for connectivity and installation detail.
Inputs
TODO — sensor and signal inputs, and what each accepts.
Outputs
TODO — relays, drivers, and what they are rated to switch.
Connectivity
TODO — network, wireless and field-bus interfaces.
Contact
Full circle.Tell me what you need it to run.
TODO — availability, lead time, or how to get in touch. This is the closing call to action.
Detail
Thirty angles, in your hands.
The same turntable, broken apart. Drag to spin it, let go and it keeps going, click any frame to open it. Every circle is a real render of the unit — no two are the same angle.
Drag to rotate · click to enlarge
Enclosure
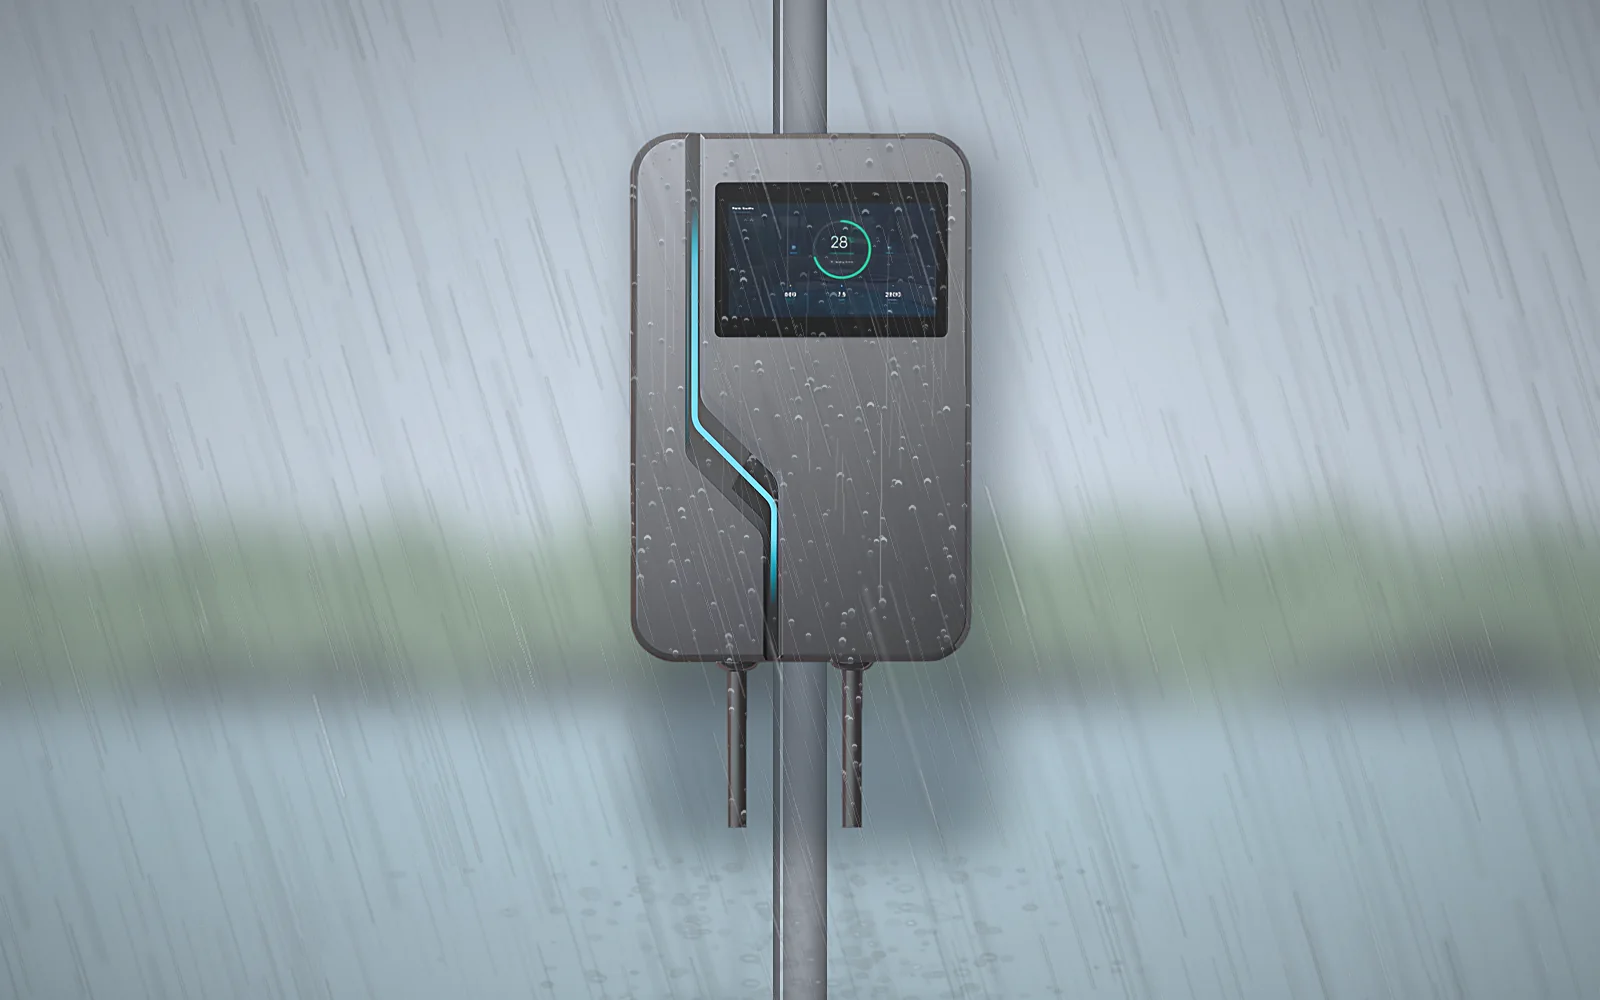
Built to be rained on.
The controller lives outdoors, so it went into a sealed housing rather than a cabinet. TODO — confirm the ingress rating you are claiming for the finished build, and what was tested.
- Sealed housing
- TODO — state the ingress rating you can stand behind.
- Outdoor mount
- TODO — pole, wall, or both. Note any bracket supplied.
- Display stays live
- TODO — confirm touch behaviour when the front is wet.
Why the iSmart Module
Why choose the iSmart Module
Discover how to transform pool care into a seamless, worry-free experience with our advanced technology.
Lower running costs
Variable-speed pumps do not need to run flat out, and they do not need to run all day. Set the speed and the window, and the module holds to it — including shifting the load to off-peak hours.
- Variable speed
- Off-peak windows
- Sunrise/sunset offsets
Water that stays balanced
Chemistry is tracked continuously rather than whenever someone remembers to test. Set your limits once and the system works to stay inside them.
- Water balance (LSI)
- Autopilot
- Continuous logging
Control from anywhere
Pumps, heaters, lights and auxiliaries from your phone, whether you are at the equipment pad or two time zones away. The 7-inch panel does the same job without one.
- Pumps & heaters
- Aux circuits
- On-unit display
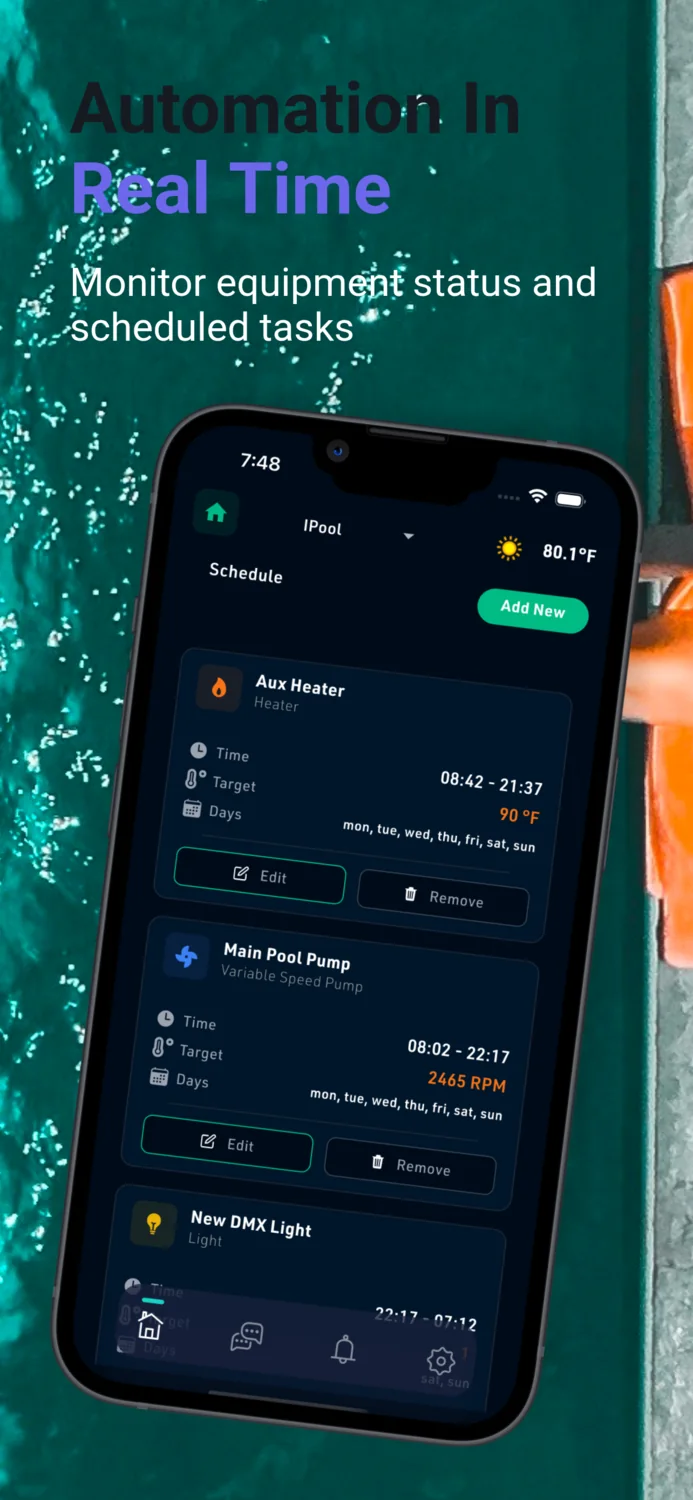
Real-time equipment status
See what is running now, what is queued next, and what is not responding — relay by relay. Problems surface as state on a screen instead of a surprise at the weekend.
- Live status
- Relay states
- Scheduled tasks
Lighting on cue
Full DMX colour control with zones, so the pool, the spa and the surrounds can run their own scenes — on a schedule, or in time with whatever is playing.
- DMX colour
- Zones
- Music sync
Access you control
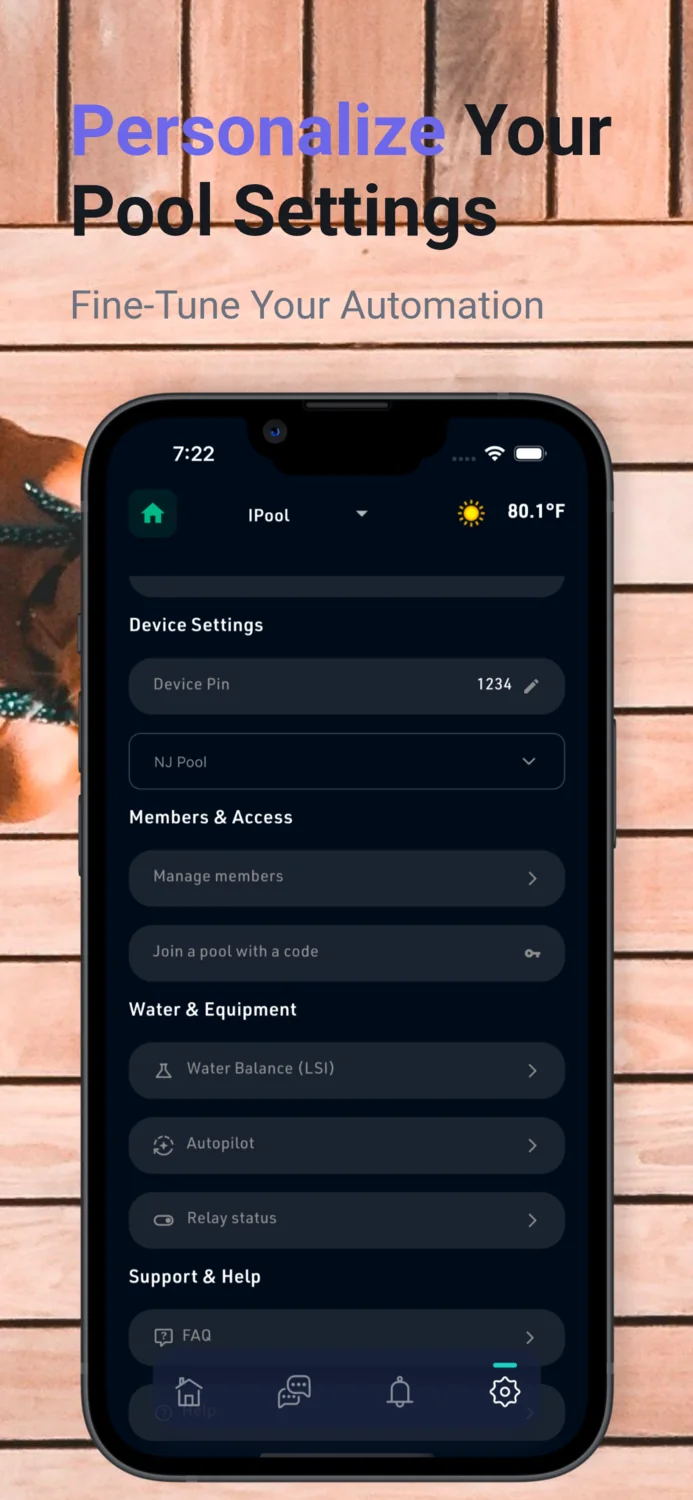
Bring in family with a join code and let your service company in when they need it, without handing anyone the keys to everything. A device PIN guards the unit itself.
- Join by code
- Member roles
- Device PIN
Getting started
Four steps to an automated pool.
The iSmart Module does the work once it is on the wall. Getting it there is deliberately unremarkable — mount, pair, set your preferences, and hand the pool over.
- 01
Install the iSmart Module
Mount the module and bring your pump, heater and lighting circuits into it. The housing is sealed for outdoor use, so it can sit at the equipment pad rather than in a plant room.
- 02
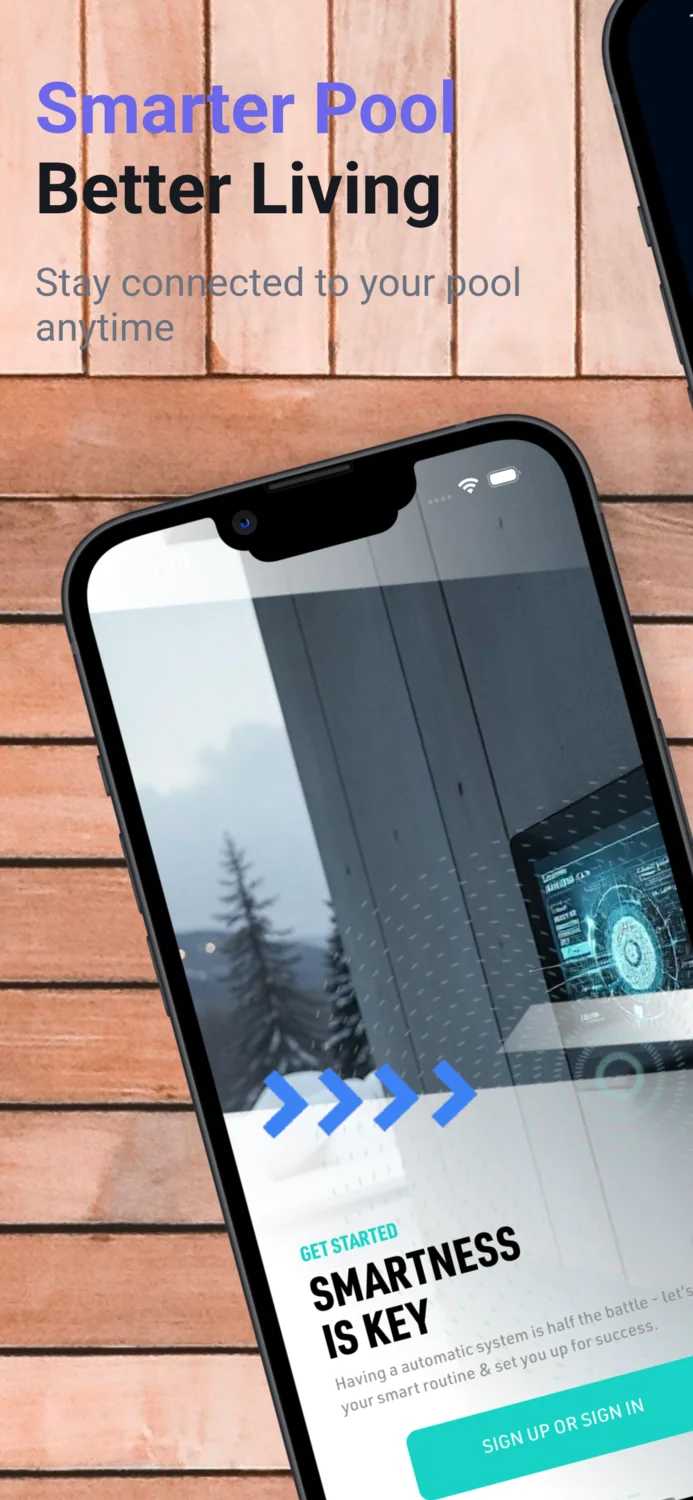
Pair the NexPool Connect app
Create an account, then register the module with the device code printed on the unit. Pairing runs as a three-step wizard — device info, device setup, complete.
- 03
Set your preferences
Define it once: pump and heater schedules, temperature targets, water-balance limits, lighting scenes, and who else gets access. Autopilot follows the rules you set.
- 04
Let it run
From then on the module manages pumps, heaters, chemistry and lights in real time, and reports equipment status and scheduled tasks to your phone wherever you are.
What owners and installers say
Placeholder section — replace with real, permissioned quotes before this page goes live.
PLACEHOLDER — a quote about the install itself: who fitted it, how long it took, and what was easier or harder than expected.
Installer nameInstaller · company, cityPLACEHOLDER — a quote about running costs: what their pump schedule looked like before, what it looks like now, and what changed on the bill.
Owner namePool owner · cityPLACEHOLDER — a quote about water chemistry: how often they used to test and dose by hand, and what they do now instead.
Service namePool service company
PLACEHOLDER — a quote about the app: what they check most often, and whether setup made sense without a manual.
Owner namePool owner · cityPLACEHOLDER — a quote about being away: a specific occasion when remote monitoring caught something, or saved a trip.
Owner namePool owner · cityPLACEHOLDER — a quote about weather: how the unit has held up outdoors through a season, in their climate.
Installer nameInstaller · company, city
PLACEHOLDER — a quote about lighting: a scene they actually use, and whether guests notice.
Owner namePool owner · cityPLACEHOLDER — a quote about support: a real question they asked, and how quickly it was answered.
Technician nameService technicianPLACEHOLDER — a quote comparing it to whatever they ran before, in their words, including anything they miss.
Builder namePool builder · company